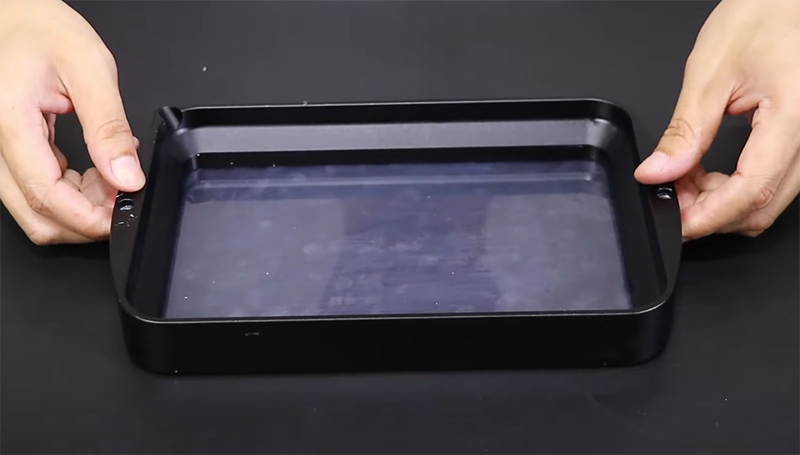
If cured resin is found on the LCD screen after removing the material tank, it is because the FEP film is damaged. Proper maintenance of FEP film is essential to ensure the quality of 3D printing. When the FEP film is damaged or reaches the end of its service life, it needs to be replaced in time to ensure the normal operation of the printer. In this guide, we will explain the use of FEP film, and provide detailed steps to replace Anycubic Photon Mono X FEP film. It can also be used as a reference for other printers of the Photon Series.
What is FEP Film
FEP film has excellent chemical resistance and optical transparency, it can be used to assist the printer in creating accurate 3D prints and can achieve high level of details. The FEP film is installed in the resin tank of the 3D printer, which holds the resin and acts as a transparent barrier between the resin and the LCD screen. FEP film plays a critical role in the printing process. When it is worn or damaged, the printing cannot be completed normally. As one of the consumables of 3D printing, we need to learn how to replace FEP film.

How to Determine when to Replace the FEP Film
- If the printer prompts that the usage life of theFEP film has expired, but the FEP film is not damaged, it is up to personal preference to decide whether to replace the FEP film.
- If the printer prompts that the usage life of theFEP film has expired and the FEP film has been damaged (resin has leaked onto the screen), the FEP film must be replaced.
- If the printer does not prompt anything, but theFEP film is damaged, the FEP film must also be replaced.
Note: This message indicates that the print count of the FEP film has reached its preset usage life. The usage life of the NFEP release film is about 30,000 layers. However, if the FEP film is not damaged at this time, it is possible to choose not to replace it.
How to replace the FEP film: Anycubic Photon Mono X FEP Film Replacement
Tools to prepare: M2.5 wrench, M2.0 wrench, tweezers, utility knife, new FEP film

Step 1: Use an M2.5 wrench to remove the 14 screws on the back. Then you can remove the FEP film module. Use M2.0 wrench to remove the remaining 22 screws. Remove the old FEP film.

Step 2: Use alcohol or clean water to wipe the resin residue on the steel ring and the trough.

Step 3: Tear off the protective film of the new FEP film. Put the new film back on the metal frame.
Note: FEP film needs to have a certain protrusion, so we used a bottle cap (about 13mm high). Use tweezers to pierce the FEP film and tighten the screws diagonally first (pay attention to the direction of the steel ring and the direction of the screw). During this process, keep the steel ring and FEP film not moving.

Step 4: After tightening the screws at the four corners, tighten the other screws one by one. Install the new FEP film module on the vat.
Note: The screws on the back of the installation trough should not be completely tightened first; after all installations are completed, adjust appropriately according to the tightness of the FEP film.
Step 5: Use a utility knife to cut off the excess FEP film, please be careful not to scratch your fingers. The steel ring should be lower than the black notch, and the FEP film should not have wrinkles.

Fix the resin vat of the installed new FEP film on the printer, and the replacement of FEP film is completed. To purchase the new FEP film, you can click on the official website of Anycubic, where you can find accessories suitable for Photon Series resin printers, including FEP film.
Product Description
- The FEP film sheet is suitable for: Anycubic Photon Mono X & Photon Mono X 6K & Photon M3 Plus
- Film Dimensions: 240*165 (mm)
- Resistant to high temperatures (204 ° C), Chemically resistant, UV stable
- FEP film is a consumable part, should be replaced once deformed or damaged during printing;
- The film should be replaced as soon as signs of distortion or excessive adhesion occur.


